Tech & Business Updates
Technology
Business
Marketing
Finance
Real Estate
Health
Education
Travel
Entertainment
Sports
Lifestyle
Reviews
Home
Latest articles
Business
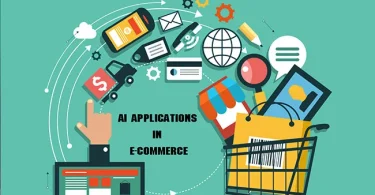
AI Applications in E-Commerce
1 week ago
Add Comment
Trending
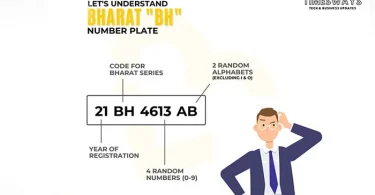
Bharat Series Number Plate in India
1 week ago
Add Comment
Health
Can vitamin c remove dark spots?
2 weeks ago
Add Comment
Trending
Know everything about Easter Celebration
3 weeks ago
Add Comment
Sports
Ms Dhoni Net Worth in rupees in 2024
3 weeks ago
Add Comment
Entertainment
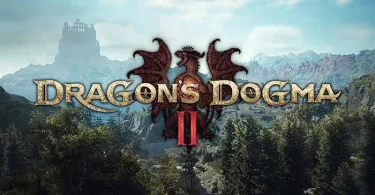
Dragon’s Dogma 2 preload steam
4 weeks ago
Add Comment
Business
What is a crypto airdrop?
4 weeks ago
Add Comment
Education
Is Scholarship Owl a legit site ?
1 month ago
Add Comment
Education
What is the full form of NASA
1 month ago
Add Comment
Trending
Oscars 2024 Date and Time
1 month ago
Add Comment
Load more